25 September 2010

The Terrain Project Part 5: Trees (version 1)

Pipecleaner trees! Hey, they're cheap, they look halfway decent, and did I mention they're cheap? A pack of a hundred pipe cleaners cost something like $2.50 at a craft store. Add another buck-fifty for the inch and a half washers, and $8 for the spray paint I bought . . . and lichen. A small pack ran $5 at the craft store. But a 40% off coupon helped that.

I used the basic steps found here at Terragenesis. The first difference was that I started with black pipe cleaners. The second is that I used textured spray paint to coat them. This gave a rough appearance that eliminated a lot of the pipecleaners' fuzziness. The paint glooped together the fibers, so they look irregular and pretty decent.

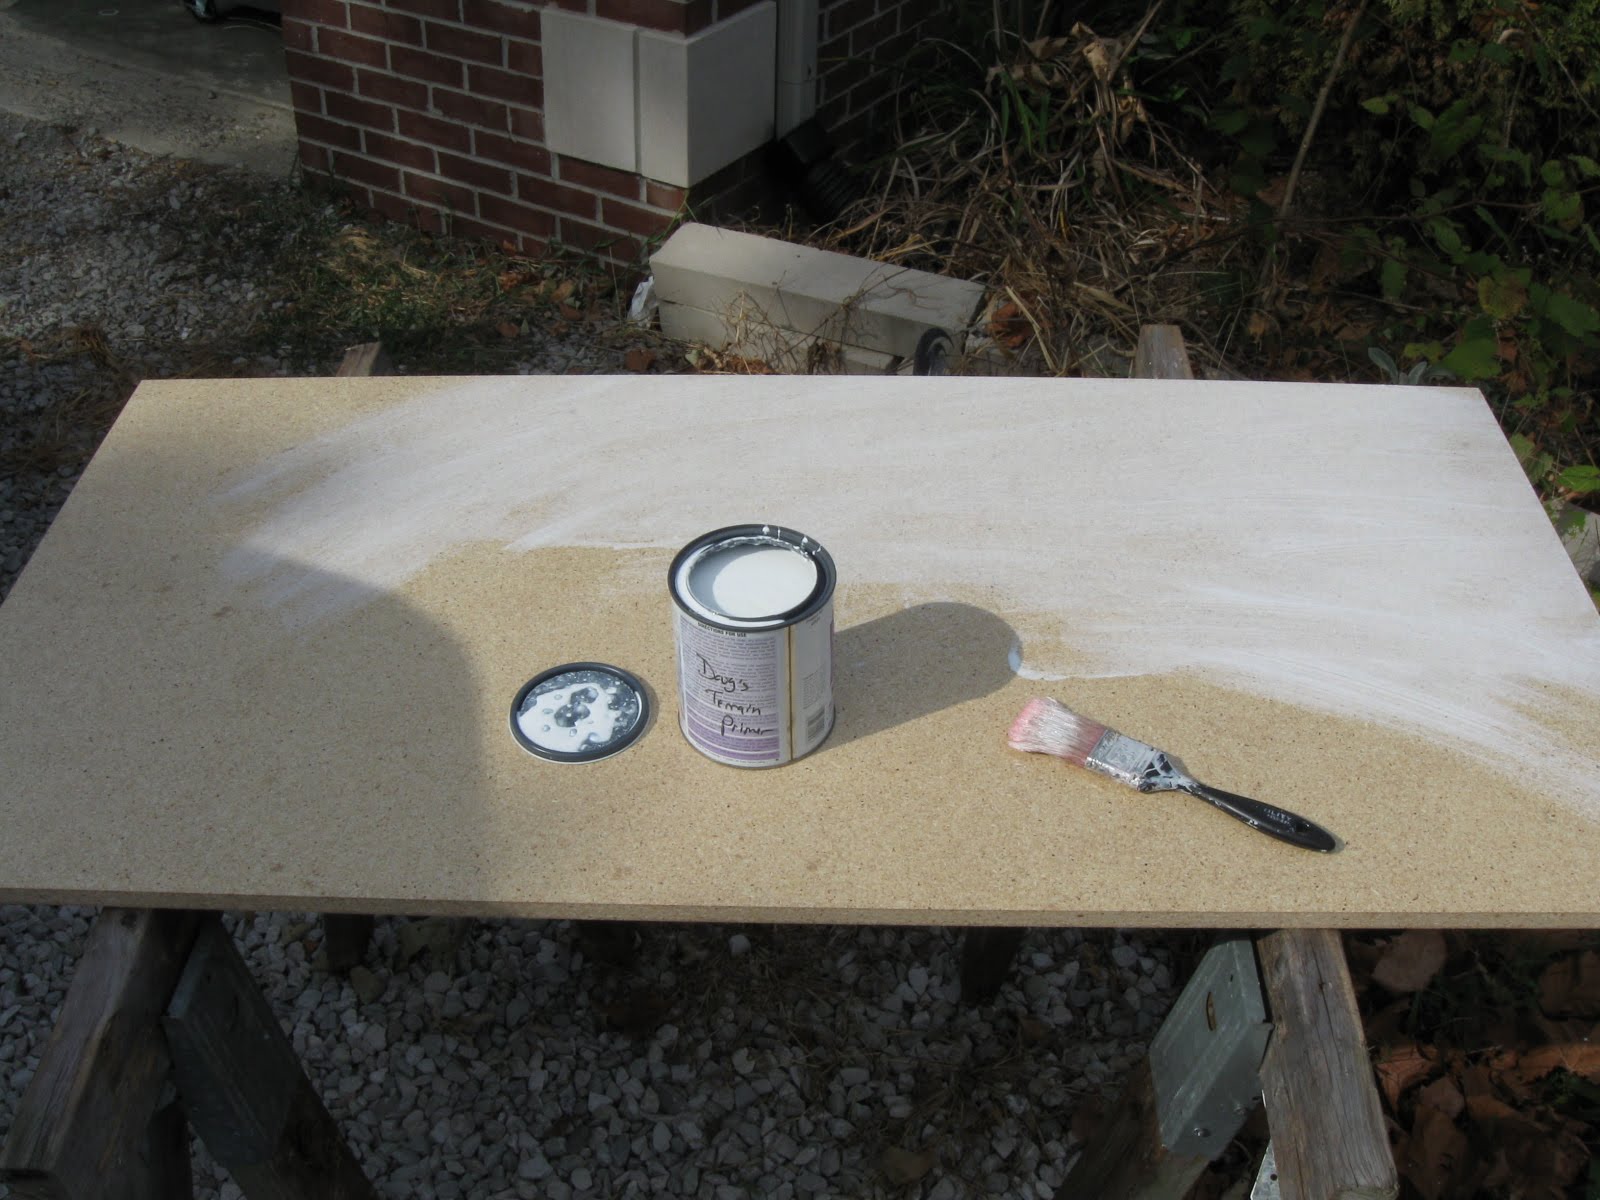
I made the trees and glued them to the washers (you can see those in the first picture). The washers serve two purposes: first, they are heavy enough to keep the trees upright after I add the lichen as foilage. Two, they'll work with my idea of using magnets on the base so I can more the trees around as needed. More on this later.

Here are the trees after spraying:

First step was a heavy drybrush of brown (I used Americana Asphaultum, a dark brown). Yes, I know tree bark isn't usually brown. But this will be covered up later. Plus, a lot of the black base color showed through.

Then, a highlight of a grayish color. I used Folk Art's Barn Wood. I did this until I was happy with the texture. Still lots of the base black, but I like the effect.


Now, the base! Version 1 was cut from 1/8" MDF using my Dremel tool. I used some adhesive magnetic strips to attach the trees, and using a washer as a guide, sculpted around the magnets to hide the seams.
Not bad . . . .
Not bad at all!
I used craft glue (PVA, but better than Elmer's) to attach the lichen to the trunks. The bases of the trees are washed with PVA glue and sprinkled with fine talus rock. I also added in some lichen bushes for some additional cover. The base was painted with a mixture of raw umber and PVA glue, and sprinkled with flock (earth colored). Some areas got extra treatment with grass flock.

Not being content with the first version of the base, here's version 1.1. I used the Dremel again, cutting two bases. The first base was the usual, the second was smaller and has two holes cut in it that will fit the washers. I put the magnets down inside the holes, and the level is just about right . . . the washers stand a little high (about a millimeter), but I don't use up all my epoxy putty!

Here are a couple shots of the completed trees. I still have to finish the bases (hopefully that will be this week).


19 September 2010

The Terrain Project Part 4: Final Steps

I toyed with the idea of adding a picture of the mat drying . . . but that would be as exciting as watching grass grow.

Instead, here's the next step: I trimmed the edges of the mat that would touch the side boards. I actually did this with the open side, too, but it's far more important to trim these edges. Once you secure the board to the base, if there's any overlap the mat will be pushed up, and there's no way to get it down. Guess who found this out the hard way? So, a very close, tight cut to make sure there aren't going to be any ripples in the mat.


Then, I started attaching the side boards. I had previously cut them, with only one mishap due to me forgetting that a board has two ends (don't ask). Here's the lengths:
2 @ 49 1/2 inches
4 @ 24 inches

If you forget that the long sideboard is supposed to cover the ends of both smaller pieces, you end up with one at 48 3/4" . . . but I digress.

I initially attached the board to the base with a thin nail. I needed to drill out the holes where the screws would go, but it's way safer to drill both holes as one.

I used 2 1/2" screws, and put three on each short side, with five on each long side, plus one on the very ends to connect the side boards.


I had to take a break because Mrs. Workshop came home with the guppy. By the time I made it back to the project, it was dark. But that wouldn't stop me! Almost there!


I sanded the rough areas of the furring strips, along with taking off the corners that could give splinters. I'll hit the boards with the shop vac later to pick up the sawdust.

And here's the final product. Sixteen square feet of battle-ready goodness.


What I learned:
1) I probably didn't need 5/8" particle board. It's pretty heavy.
2) Patience is good. I got lucky in finding the mat at 40% off. But, if I had a little more patience I wouldn't have made the wrong cut. Plus, I could have been a little better with the drill.
3) Find good stopping points, because your wife will invariably come home in the middle of you handling the drill and want your help unloading the car.

What's next? Trees and hills. And felt rivers.

18 September 2010

Mao Zedong vs The Black Death

One of the first things that captured my attention about the Middle Ages was the capability of disease to decimate the population. The Black Death in particular. Over the course of a century, the population of Europe was reduced by 50% by the spread of the bubonic plague. The plague was brought to ports in Europe by trade, and while the effect varied by location, all of Europe was stricken. Nor did this occur all at once. The plague slowed, only to flare up years later. A quick look at Wikipedia shows that up to 200 million people died in the 14th century due to the Black Death.

Mao Zedong, the founder of the People's Republic of China, managed to kill off 45 million people in just four years (1958-1962). His "Great Leap Forward" meant that certain sacrifices had to be made. If one was too old to be an effective worker, that person would be denied food. Punishments for infractions included being forced to work during winter without clothes, parents were forced to bury their children alive. Others were doused in gasoline and set on fire.

Mao's atrocities have been known for some time, but the guys at Powerline asked how Mao's numbers compared to the Black Death. Mao did in four years what the Black Death did in 25-50.

Of course, the Black Death was caused by a certain confluence of events. Poor weather led to famine, which led to increased trade as well as weakened immune systems. The atrocity of communism is man-made. Humans sat and said "these people must be killed. These other people are of no use to us, so let them die."

Naturally, today's leftists don't want you to know the lengths they will go to in order to impose their will upon you. But they are of the same stripe as Mao.

Around the yard

I've got a touch of arachnophobia. Something about critters with twice as many limbs as I have just creeps me out. Still, living out in the country means that I get to interact with spiders. They're in my barn, they're in my shed, they crawl all over the garden, and in the fall they'll try to come inside.

Today as I wandered the estate, I managed to find a funnel web spider hanging out. Nothing special, I just managed to catch him before he scooted down the tunnel. Go on, Mr. Spider. Eat all the bugs you want.

Now, if I could just find something to eat poison ivy . . . .

The Terrain Project Part 3: I didn't cut any fingers off!

On a quiet afternoon, when Mrs. Workshop took the guppy to visit family, I started my game table. The initial supplies: two 2'x4' pieces of particle board, furring strips, and the Woodlands Scenics mat (summer color).


First, I cut the mat so there was a little bit of overlap on all four sides of each piece of particle board. I'll trim it up later.


Then, as per the directions on the jar of adhesive I'm using to glue the mat to the board, I primed the board. This is so the adhesive has something better to cling to than porous chips of wood.


Yes, I did both.

Once the primer was dry, I used a cheap foam brush to paint the adhesive to the board, as well as the back of each piece of mat, being careful to not get the glue on the green side of the mat, and to make sure the corners and edges of both the mat and the board were covered. I was less concerned about the center, but everything got a good covering of adhesive. I let the glue dry for a little bit, and draped the mats over the boards, smoothing with a heavy cookbook.

While I was waiting for the glue to dry (I'm going to err on the side of caution and let them sit for a couple hours, I started premeasuring the furring strips. Four pieces at 24 inches, two at 49 1/2 . . . but since I didn't do math right, I had to adjust slightly. Oh well, nothing's perfect. And having one piece at 48 3/4 with a side piece of 24 3/4 isn't going to kill anyone.

One item of note: Next time, look for thinner material. That particleboard is friggin' heavy. Perhaps thinner, with a frame on the underside of those furring strips I'm using. Wood glue + screw nail that thing down . . . yeah, I'll have to remember that for next time.

14 September 2010

The Terrain Project Part 2: Other Supplies

A quick list of other supplies I've purchased for this project:

2 packages of Blue Spruce trees (Woodland Scenics, 4 trees each) = $16
Pipe cleaners, florists wire, florists tape, lichen, washers, magnets (for homemade trees) = $11

One sheet 4'x8' pink polystyrene (1" thick) = $12
One 2'x4' sheet of 1/8" thick MDF for basing hills and trees = $3

One roll of "flagstone street" by Lemax (from Michaels, with a 50% off coupon) = $9
Hopefully with a little drybrush of grey this will work for paved village streets.

One can of "Diorama Paint" by Floquil = $6.
This is a multi-colored spray paint I plan on spraying on my felt roads to give them a unique look.

1/2 yard length each of blue and tan felt for rivers and roads = $5

I plan on explaining each choice as I reach that part of the project. Interested parties can also visit this thread at Reaper Miniatures where I'm cross-posting.

1990 Called. They Want Their Server Back.


Funny thing happened yesterday. One of my teammates got a message from one of the IT guys. Apparently, our team was hogging a whole lot of space on the "shared documents" intranet site. Fully 12% of our site's allocation was devoted to our documents. Pretty impressive considering we have something like four people out of 100+.

Now, you're probably mighty impressed that four people could produce so many documents, presentations, charts, and random crap that the IT people are begging us to delete some of this stuff. You'll be less impressed to learn that we accounted for 1GB of space out of the 8GB our building was allocated.

We deleted a couple videos linked to an old presentation, freed up about 300 MB, and the IT guys were happy.

My coworker has more memory on his phone than our entire building has allocated for shared documents. Something is wrong with that. But what do I know? I don't have an MBA.

The Terrain Project Part 1: A trip to Menards

I've managed to pick up a whole bunch of stuff, and will likely begin making the board this weekend.

Supplies:

2 boards (2ft x 4ft x 5/8" particle board) @ $7
3 "furring strips", 8ft long, 2"x1" @ $2.40
Wood screws (already have)

Particle board was chosen mainly for cost. I was initially looking at MDF, but the 1/4" thick sheets didn't seem like they'd stay in place well enough once on the table. The 1/2" sheets were over $8 each, and the first one I picked up had been smashed on one side. This didn't fill me with confidence as to the durability I want for storage. I really liked some sanded plywood, but each board cost $11. So, I went with particle board that is thick enough to not warp and cheap enough to not break the bank. The furring strips were purchased so that I can create a lip on the edge of the board so that dice don't roll off, and to protect against the rather sharp edges of the particle board. This should also reduce splinters.

I also bought a 50" x 100" Woodland Scenics grass mat from Hobby Lobby and a jar of vinyl adhesive that was on clearance. Total price: about $22 with tax.

Pictures will be posted as I begin construction.

12 September 2010

The Terrain Project: Introduction

So, GenCon meant that I got to play a few games that don't seem to have many players in the local area. Specifically, Reaper's Warlord game. It's a miniatures game, a skirmish-level combat game where small groups of fantasy races battle it out. Dwarves, orcs, elves, humans, demons. I really like the new version, despite the fact that there doesn't seem to be a local following.

Therefore, when a friend's children got excited about gaming at GenCon, I got excited about roping them into playing. Luckily, my friend is a cool sort of woman who doesn't mind her pre-teen sons playing with little metal figures against a crotchety old fart like me. By the way, I got pwned by a 12 year old during our first game. Dangit.

Nonetheless, I've been excited about creating a battleboard for us to game on. I already have several building from the Miniature Building Authority, so I can construct a pretty big village right now. But, playing on a kitchen table leaves a lot to be desired. It worked, but I want something bigger and better. Yes, at this point you should begin to be afraid. Mrs. Workshop was.

Games Workshop put out a battleboard of their own, and I really liked the concept. Modular plastic tiles, 2 ft by 2 ft, held together by clips so that the modules don't move. Six by four feet. Since I wanted a four by four area, their board would provide a good amount of variation. In addition, it stores fairly easily, is rugged, and expandable. You know, should I ever want an absolutely huge area to play on! The downsides, though, were enormous. First was the price. Almost $300 retail. Second, all that gets you is the molded plastic. You still need to paint the thing! And, some of the sculpting is wacky. I suppose it works for GW, but I wasn't really getting into it. Especially for $300. Oh yeah, no rivers, no extra hills (the battleboard modules have small rises sculpted into them).

Thus my brain started churning. Images of modular terrain filled my imagination. Rivers carved into the base, craggy hills rising to provide an overlook. Standing stones, ruins! I could construct a frame of 2x2's, supported by 1x2's, and place the terrain modules inside so that they wouldn't be knocked around. I even came up with a way to add hinges so that I could store the frame easily.

For the past two weeks, I made plans to buy the lumber, the MDF for the modules, the polystyrene for the hills. I tweaked the frame design, trying to find a way to get a stronger hinge. I started thinking about just how much flock I would need to cover all the modules I had envisioned.

This morning, reality hit me square in the face. I was tasked with watching Little Workshop while Mrs. Workshop went to lunch with friends. Little Workshop was tired, he cried, he couldn't get comfortable in my arms. Today was going to be the big day! Menard's was calling! And there was going to be no way I could get all the stuff I wanted while making sure my son didn't have a melt-down in the store. After our morning nap (because I napped too!), I loaded him into my truck and off we went. As I was driving, I realized there was no way I could dedicate the time to build the terrain I wanted. Gaming is fun, but my son deserves more of my time.

So I caved. Instead of Menard's, I drove to a fabric store. A half-yard of blue felt. A half yard of tan felt. For rivers and roads, repectively. I lucked out in that the store was having a half-off sale, so I managed to spend about $5.50 and get material for more roads and rivers than I will probably ever use.

I also stopped by Michael's Craft Store. They had their Christmas Village stuff out, and I found some birch trees I might pick up later. They also had a roll of rubber flagstone that may work for city streets. A quick check online showed there's a 50% off coupon, so I may not have to wait until after Christmas for some of this stuff.

As I ate dinner, I resigned myself to playing on MDF painted green. I could still do the polystyrene hills, since those smaller projects could be accomplished without interfering in my fatherly duties. But the big cool modular terrain, the rivers, the crags . . . those would have to wait. Of course, what about trees? It's a shame Michael's didn't carry the Woodland Scenics stuff like Hobby Lobby does. That 50% off coupon would come in handy. . . .

And as I was going to bed, I realized that Hobby Lobby routinely runs a 40% off coupon. I wonder if they had the large grass mats that Woodland Scenics makes . . . . A quick internet search says yes.

So I've been unable to sleep for the past two hours as my creativity has been sparked again. Creativity coupled with 40% off coupons is a scary thing for me. Mrs. Workshop agrees, and she's resigned herself to the fact that tomorrow I'll likely have a 4' x 8' mat of grass spread over our dining room table.

11 September 2010

Never Forget


We are at war.

The war started in the mid 1950's as radical Islam began to fight against the West. On September 11, 2001, our enemies made us realize we were still at war.

Despite our current president steadfastly refusing to acknowledge the war, our enemies haven't forgotten. We must not forget.

Our enemy tries to trumpet its own superiority, while even the casual observer can see that the regions where radical Islam holds power are no better than third-world nations. A once-great culture now shackles its people, leaving them in poverty and misery, while railing against the nations which are now the beacon of civilization. Even if the rest of the world holds still for a century, the Islamic world couldn't catch up.

They hate us, not because of who we are, but because of what they've become. No amount of appeasement will satisfy them. They are not interested in reconciliation, nor in the honeyed words of our president. They will always find a reason to hate us, to fight us, because their culture is inferior to our own. They stone women to death. They cut the heads off infidels. They use innocents as both shields and targets. They preach only hate and death.

Never forget.